Running DX9 & 32-bit games on Apple Silicon Macs
With modern games becoming nothing but a chore, and an ever-increasing array of monetization strategies, more and more people have turned to retro gaming—myself included.
While we can easily emulate a huge library of games spanning several console generations, older PC titles are also becoming increasingly popular.
If you find yourself on an Apple Silicon Mac, though, playing older titles, often relying on older DirectX versions, or making use of now-deprecated 32-bit architectures, can get rather tricky.
In this short tutorial, I’ll show you how you can run DX9 and 32-bit games on Apple Silicon Macs.

Tip
If you’re on an Intel Mac, you don’t need any of this. Simply follow this guide to set up Boot Camp, allowing you to run Windows on bare metal.
Preparation
rosettax87-jit
First off, we need to get our hands on the latest release of rosettax87-jit for Apple Silicon Macs.
Download it, and unpack it.Archive Utility, the app that ships with macOS by default, is unable to extract said archive, though, so you either need something like Keka, or you can use the following command instead:
tar -xzf rosettax87-jit-macos-arm64.tar.gz -C $HOME/Documents/rosettax87jit --strip-components=1
Pay close attention to what you name the resulting folder and where it is stored, as we will need both pieces of information when we want to launch our game.
The command above will create a folder called rosettax87jit in your Documents folder with all the required files present.
Next up, we need to strip the quarantine attribute from the runtime_loader binary, as otherwise, Gatekeeper will prevent us from executing it.
To do so, simply run one of the following commands:
# removes the quarantine attribute from extended attributes
xattr -d com.apple.quarantine $HOME/Documents/rosettax87jit/runtime_loader

# clears extended attributes recursively
xattr -cr $HOME/Documents/rosettax87jit/runtime_loader

Check your paths
As mentioned before, if you don’t closely follow the instructions, you may end up with a different set of files and folders, in completely different locations.
That’s fine, as long as you adjust the commands accordingly to reflect your actual setup.
Wine
Once that’s done, we can install Wine, which lets us run Windows applications on macOS, Linux, and BSD systems.
Simply grab the latest release here, then extract it using the methods mentioned above.
Once that’s done, you can move the resulting application into your Applications folder.
Checking the requirements listed in the README for the latest release, you can see that you need to be on a macOS version >= macOS Catalina—which every single Apple Silicon Mac is by default—and you also need to have GStreamer.framework installed.
Simply download it from here, then run the .pkg installer.
Using d9vk
Finally, we need to grab d9vk, which translates Direct3D 9 calls into either Vulkan or Metal, improving both performance and compatibility. You can grab it here.
Extract it, then move the 32-bit DLL called d3d9.dll from the x32 folder into your game folder.
In my case, I’m using the Steam version of Star Wars - Knights of the Old Republic, installed on an external drive. Since I extracted the archive to my desktop and named it d9vk, I can move it to the root of my game’s install folder via:
cd ~/Desktop/d9vk
mv ./x32/d3d9.dll "/Volumes/NVME SSD/Games/Windows/Steam/steamapps/common/swkotor/d3d9.dll"
And just like that, all the prep work is done and we can focus on actually running our game.
Launching your game
All that’s left to do is to actually launch your game.
Refer to the following code block for the commands needed to launch your game:
cd "<PLACEHOLDER>"

ROSETTA_X87_PATH="<PLACEHOLDER>" \
MVK_CONFIG_SYNCHRONOUS_QUEUE_SUBMITS=1 \
DXVK_ASYNC=1 \
WINEDLLOVERRIDES="d3d9=n" \
WINE_DISABLE_NX_COMPAT=1 \
wine "<PLACEHOLDER>"
You need to replace all instances of <PLACEHOLDER> with the correct paths for your machine.
The first path you need to fill in is the path to your game installation.
The second path should point to your rosettax87-jit runtime loader.
If you followed my instructions regarding rosettax87-jit, the correct value for ROSETTA_X87_PATH should be
"$HOME/Documents/rosettax87jit/runtime_loader", with $HOME being an alias for your home directory, so no need to change anything on your end. If you placed it somewhere else, update the path accordingly.
Finally, we need to fill in the path to our game’s executable. This is a relative path, starting from the root of our game’s installation.
In my case, it’s simply ./swkotor.exe, since the executable is called swkotor.exe and is located right within the root of my game’s install folder.
With all paths filled in, the commands could look like this:
cd "/Volumes/NVME SSD/Games/Windows/SteamLibrary/steamapps/common/swkotor"

ROSETTA_X87_PATH="$HOME/Documents/rosettax87jit/runtime_loader" \
MVK_CONFIG_SYNCHRONOUS_QUEUE_SUBMITS=1 \
DXVK_ASYNC=1 \
WINEDLLOVERRIDES="d3d9=n" \
WINE_DISABLE_NX_COMPAT=1 \
wine "./swkotor.exe"
Simply copy all the commands, then start Wine Staging, which we installed earlier.
Once it has started, you should see a terminal window. Simply paste the commands you copied into the terminal window.
Congrats, you’re now running a DirectX 9 game on an Apple Silicon Mac, with much better performance than previously possible.
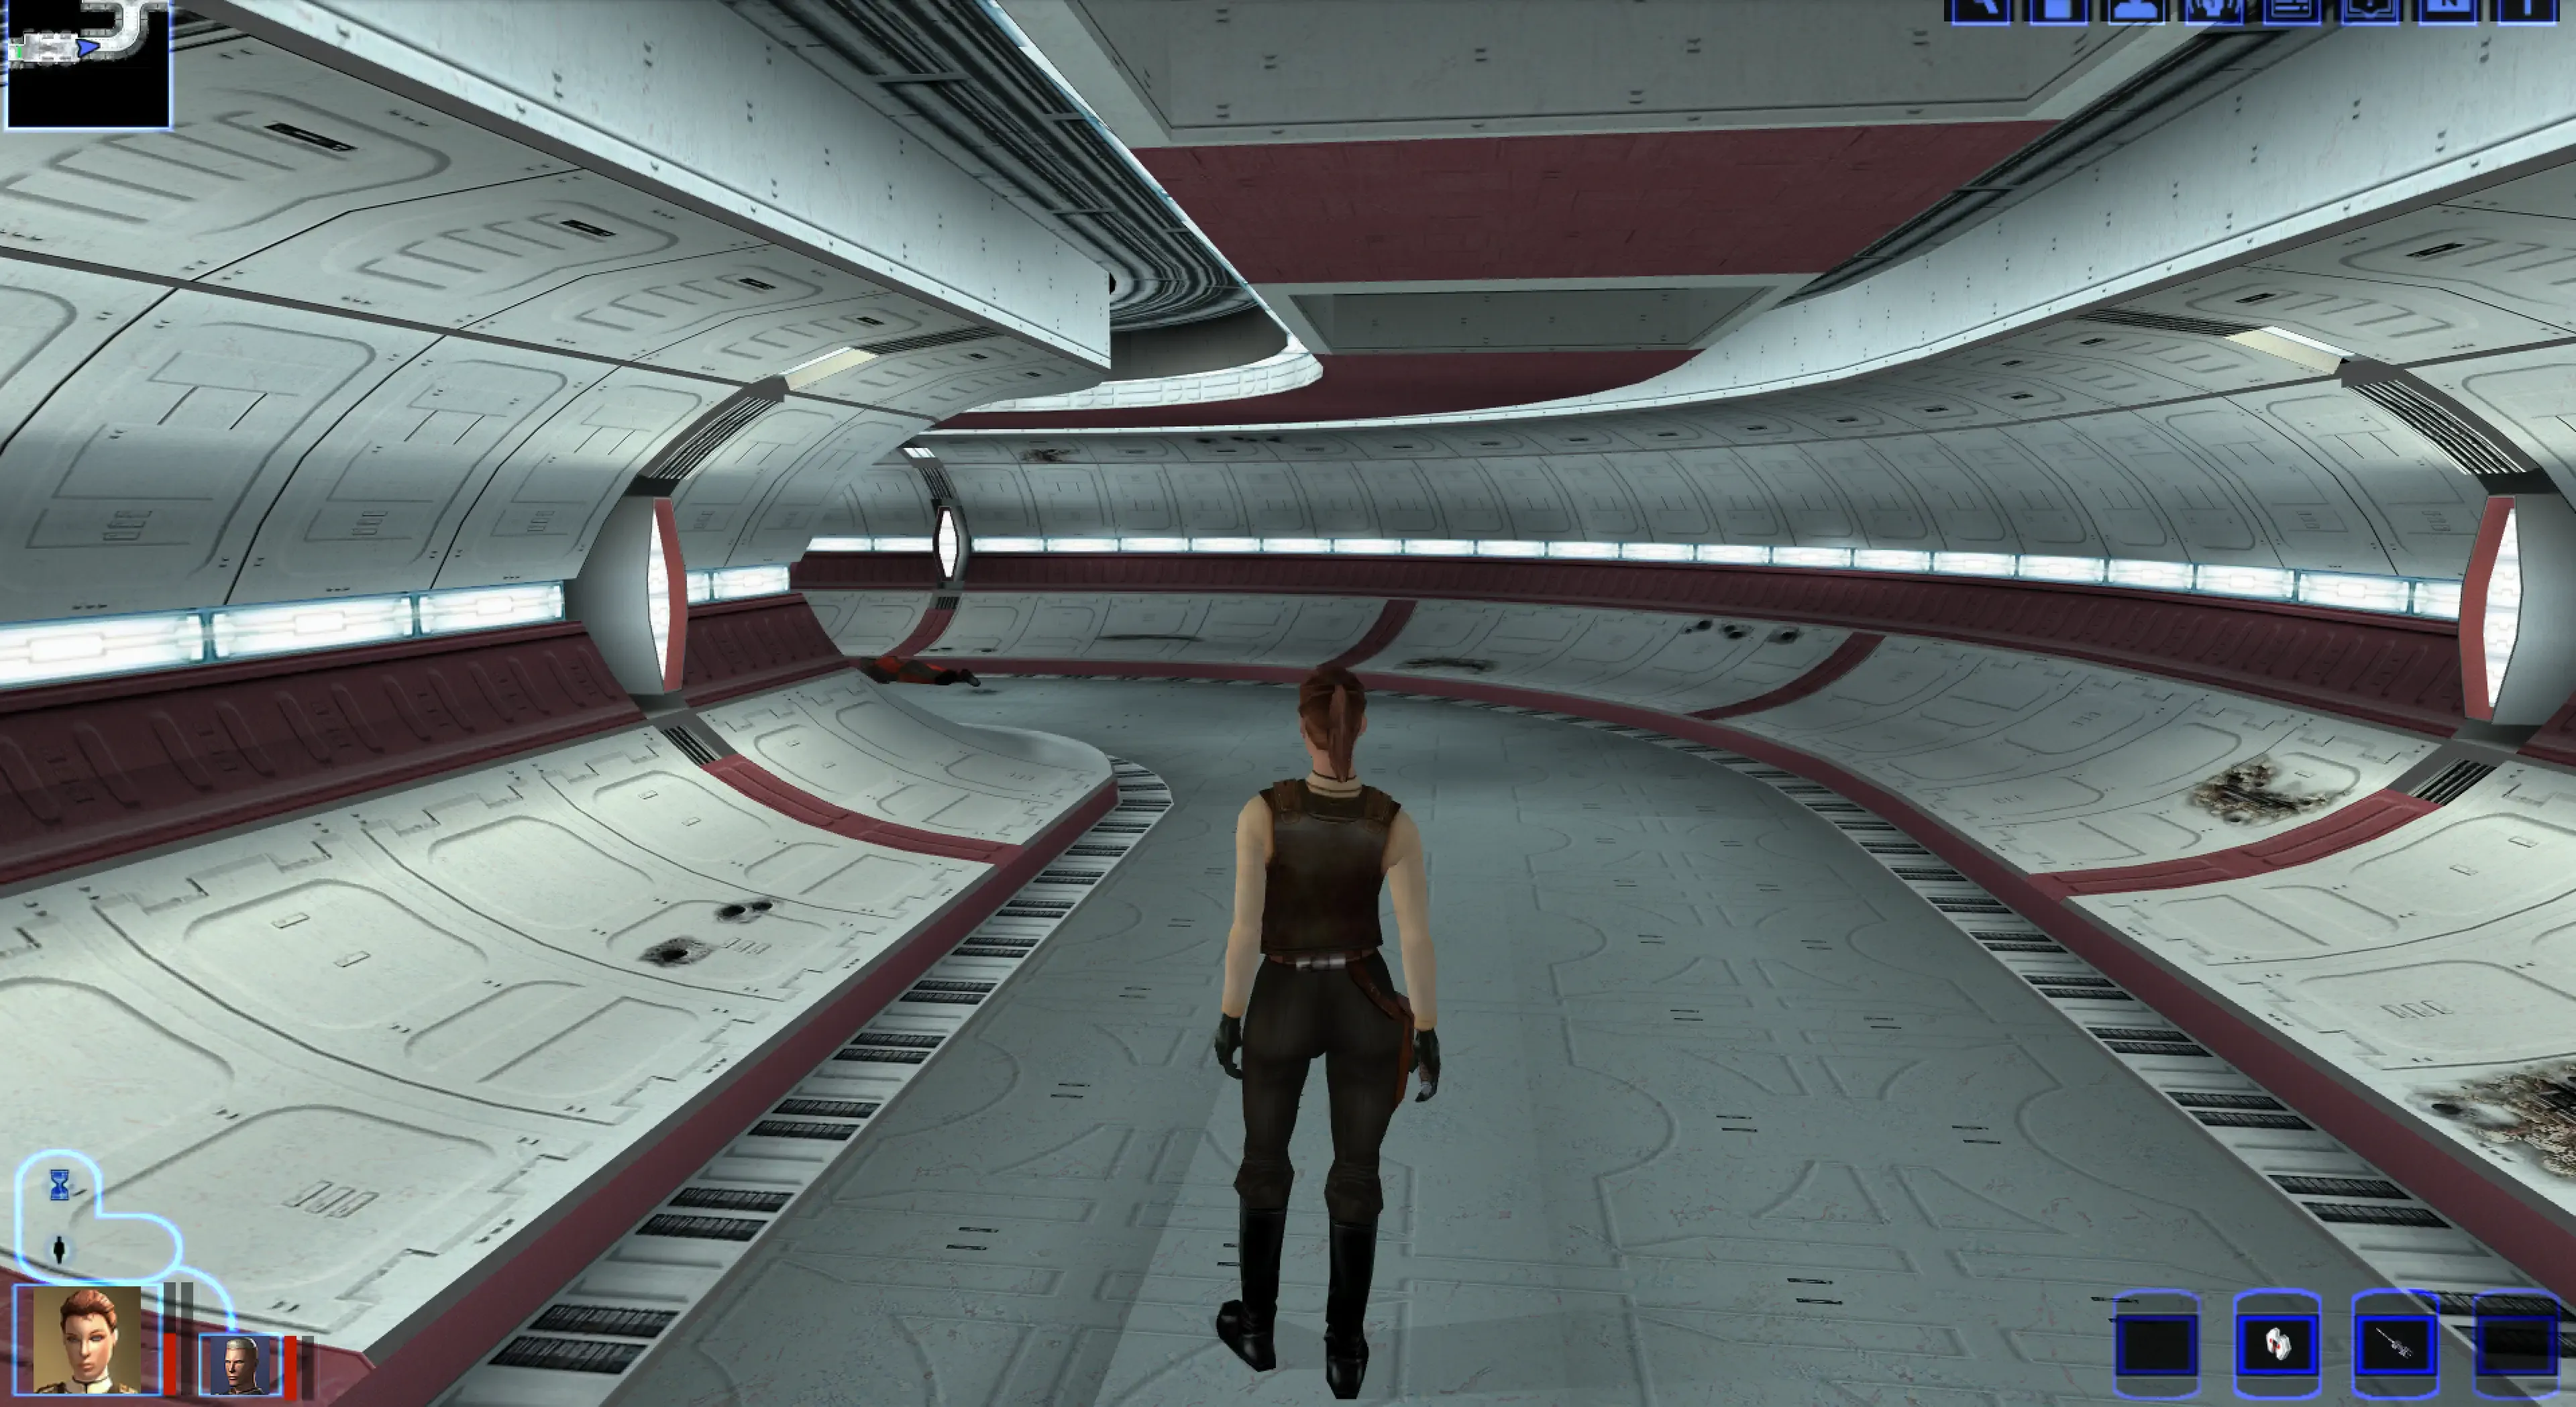
Last but not least, we should go over some troubleshooting tips.
Troubleshooting
Using game mode for better performance
macOS is not able to automatically engage game mode for most DX9 games.
You need to manually toggle game mode.
To do that, you need the full version of Xcode installed—simply installing the command-line tools won’t do the trick here.
Copy the game policy control utility from/Applications/Xcode.app/Contents/Developer/usr/bin/gamepolicyctl
into a folder of your choice. If it’s on your PATH, you can interact with it from anywhere on your system. If not, simply navigate to the folder you stored it in from your terminal, then use./gamepolicyctl game-mode set on to enable game mode.
Swap the word on for off to turn it off after your gaming session.
My game is not launching
If you receive an error along the lines of wine: failed to open ..., then you forgot to navigate into your game installation folder. Do so by using the cd command, followed by a space and your game’s install folder.
What’s the easiest way to get my game’s installation path?
Navigate to your game install folder in Finder. Open a terminal window and type out cd, followed by a space.
Next, simply drag your game install folder onto the terminal window. The path will automatically be populated.
Handling Wine-related errors
In most cases, deleting the .wine folder from the root of your home folder will get rid of all issues.